This guide explains how to set the account disk quota “full” percentage through WHM.
Note: It is important to remember that setting a low “full” percentage can cause unnecessary warnings to be sent to the account owner. On the other hand, setting a high “full” percentage can cause the account to run out of disk space before any warning is issued. Therefore, it is important to choose a percentage that strikes a balance between these two considerations.
To set the account disk quota “full” percentage through WHM, follow these steps:
- Log in to WHM.
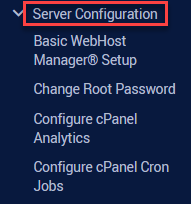
- Select the “Server Configuration” option.
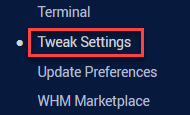
- Click on the “Tweak Settings” sub-option.
- Under the “Notifications” section find the “Account disk quota “full” percentage [?]” option.
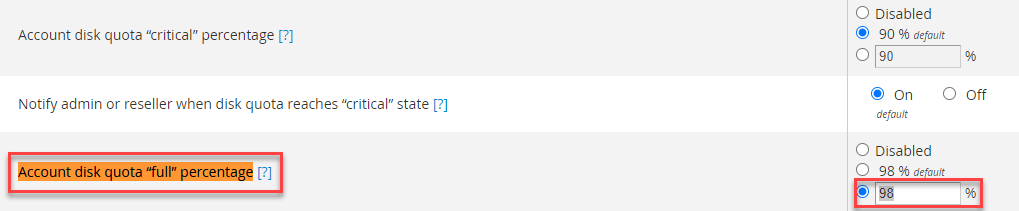
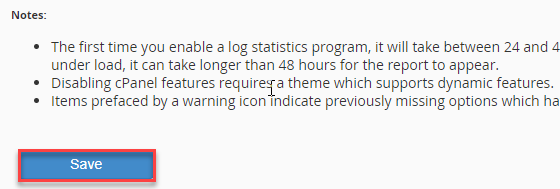
- Set the percentage value and click the “Save” button.
This way, you can set the Account disk quota “full” percentage through WHM. For more articles do visit our knowledge base section.
